
Clip-On Grow Light Setup Checklist for Small Indoor Plants
Quick Answer
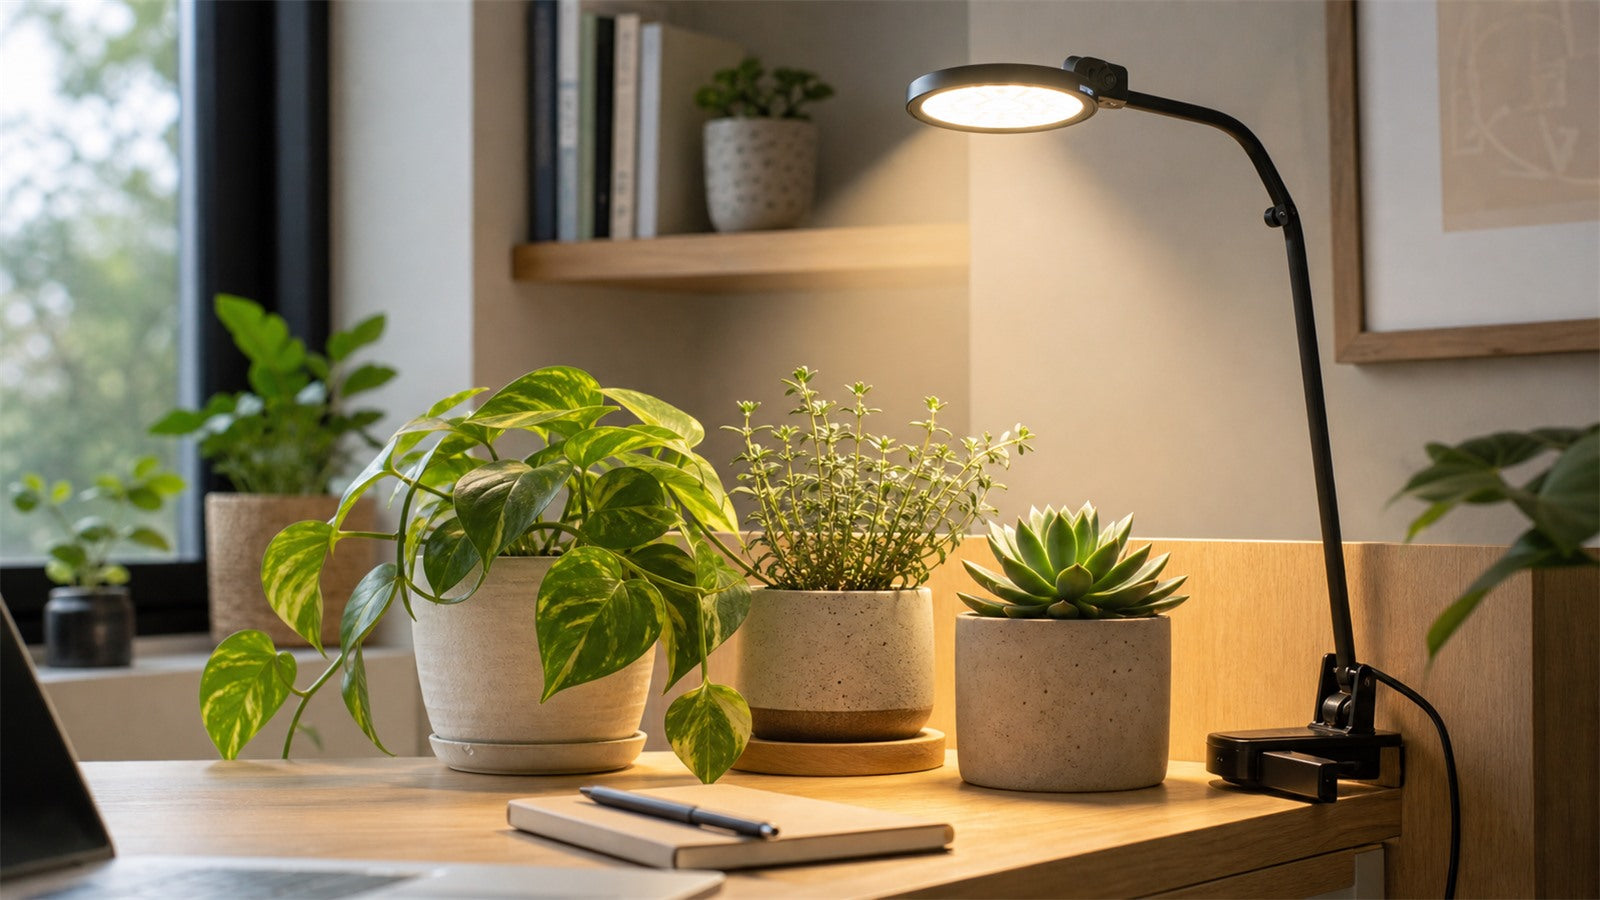
A clip-on grow light is a good fit for small indoor plants when the plant spot has a stable clamp point, the light can aim at the leaves, and the routine is easy to repeat. Before buying or moving a light, check the setup first: clamp, coverage, distance, timer, and room fit.
This checklist is for small desk plants, shelf plants, herbs, succulents, and compact houseplants that need extra support in a dim room. If you are choosing between a clip-on light, pendant light, or another setup style, start with Find My Setup and then use this checklist to confirm the final fit.
1. Confirm the Plant Spot
Start with the place where the plant actually lives. A grow light that works on paper can still feel wrong if the desk, shelf, or side table does not support it.
Check:
- Is the plant on a desk, shelf, side table, bookcase, or windowsill?
- Is there a firm edge where a clamp can attach securely?
- Will the light stay out of the way when you work, water the plant, or move nearby objects?
- Is there a power outlet or USB power source close enough for normal use?
- Can the light aim at the plant without pointing mostly at the wall?
If the answer is no to several of these checks, the problem may be the setup form rather than the plant. A pendant light, stand light, or different plant location may be easier to live with.
2. Check Clamp Security
The clamp is the foundation of the setup. If the clamp shifts, the light angle changes, and the plant gets inconsistent coverage.
A good clamp point should be stable, flat enough to grip, and not too thin or rounded. Avoid attaching the light to surfaces that move frequently, bend under pressure, or make the fixture feel unbalanced.
For a desk plant, test the clamp before placing the pot. For a shelf plant, make sure the clamp does not block books, storage, or watering access. A setup that is easy to repeat usually performs better than one that looks clever but needs constant adjustment.
3. Aim at Leaves, Not the Wall
Small indoor plants benefit from light that reaches the leaves. The most common setup mistake is placing a clip-on light where it looks bright in the room but misses the plant canopy.
After clamping the fixture, look at where the beam lands:
- Does it cover the top leaves?
- Does it hit only one side of the plant?
- Is most of the light going behind the plant?
- Can the gooseneck or head angle be adjusted without pulling the clamp loose?
If coverage is uneven, rotate the pot occasionally or shift the fixture slightly. Do not chase perfection every day; make one adjustment, observe the plant, and keep the routine stable long enough to learn from it.
4. Choose a Practical Distance
There is no single distance that works for every plant, room, and fixture. The practical starting point is close enough that the leaves receive focused support, but far enough that the fixture does not crowd the plant or interfere with the space.
For small desk plants and shelf plants, the best setup is usually one you can leave in place. If the light has to be moved every time you use the desk or reach the shelf, it will be harder to keep a consistent routine.
Watch for simple signals:
- If the plant keeps leaning strongly toward the light, coverage or distance may need adjustment.
- If lower leaves stay shaded, try a small angle change before changing the whole setup.
- If the fixture crowds the plant or blocks normal use, the form may not fit the spot.
Use the Setup Guide if you want to compare placement options before changing products.
5. Set One Repeatable Timer Routine
For many small indoor plants, consistency matters more than changing the timer every day. A repeatable routine gives the plant a stable light pattern and gives you a cleaner way to observe whether the setup is helping.
Choose a timer setting you can keep for a normal week. Then watch the plant's response instead of changing everything at once. New growth, leaning, leaf color, and general plant posture are more useful than a single day of reaction.
If your room is very dim, the grow light may need to support the plant more regularly. If the room already gets some natural light, the fixture may only need to supplement the weak part of the day.
6. Match the Light to the Plant Group
For one small plant, a compact clip-on setup can be enough when the fixture is close, stable, and aimed well. For several pots grouped together, the question becomes coverage.
Use this simple split:
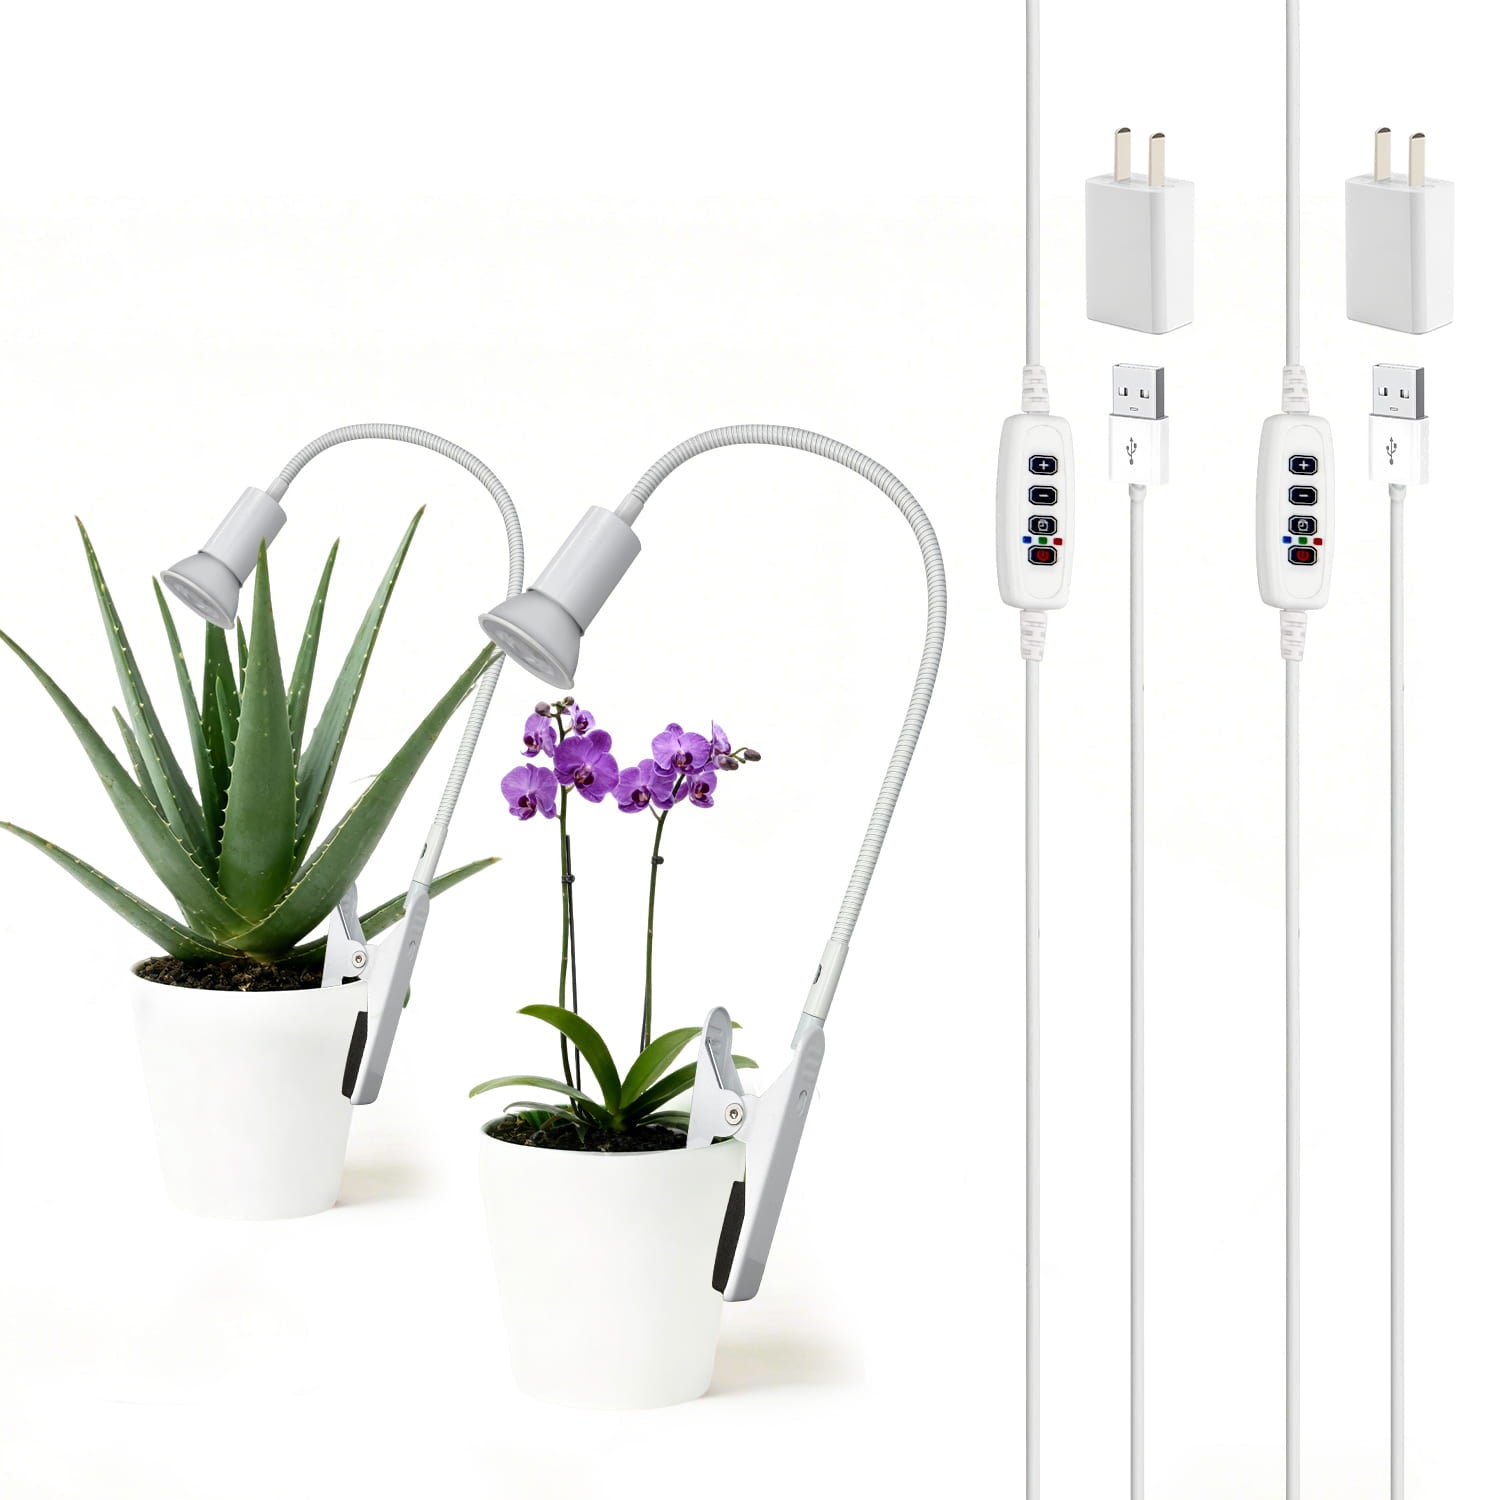
- Small desk plant, herb pot, succulent, or one shelf plant: a compact clip-on setup is often the cleanest starting point.
- Two to three small pots on a shelf: a brighter clip-on setup may work if the beam reaches all plants.
- A visible plant corner, wide grouping, or no clamp point: a pendant setup may look cleaner and cover the scene better.
For a compact path, review the Soliseed 6W LED Clip-On Grow Light. For a brighter clip-on option, compare the Soliseed 10W Clip-On Grow Light. For corners or wider coverage, compare Soliseed hanging grow lights.
7. Keep the Room Fit in Mind
A grow light has to work in the room, not just for the plant. In a bedroom, kitchen, living room, or home office, the fixture should support the plant without making the space feel temporary or awkward.
Before finalizing the setup, ask:
- Does the light block normal use of the desk or shelf?
- Does the cable route feel tidy enough to leave in place?
- Does the fixture visually fit the room?
- Would a pendant or stand look better for this plant group?
If the light makes the area harder to use, the routine will probably break down. A slightly simpler setup that stays consistent is usually better than a more complicated one that you keep moving.
Common Mistakes to Avoid
- Choosing wattage before checking the plant spot
- Clamping the light to an unstable edge
- Aiming the beam at the wall instead of the leaves
- Changing the timer every day
- Using one narrow beam for too many plants
- Letting the light block work, storage, or watering access
- Forcing a clip-on light into a spot that needs a pendant or stand
A Simple Setup Flow
Use this order when you are not sure where to start:
- Pick the plant spot.
- Confirm the clamp point.
- Aim at the leaves.
- Set one timer routine.
- Observe for a week.
- Adjust angle or distance before switching products.
- Move to a pendant or wider setup if the form does not fit.
This keeps the decision focused on the plant and the room instead of turning the setup into a brightness comparison.
Related Guides
- Find My Setup
- Setup Guide
- Grow Lights for Dark Corners
- How to Set Up a Clip-On Grow Light for a Desk or Plant Shelf
- How Long Should a Grow Light Stay On in a Low-Light Apartment?
- Best Houseplants for Low-Light Rooms: When to Add a Grow Light
- Clip-On vs Pendant Grow Lights: Which Setup Fits Your Space?
FAQ
Is a clip-on grow light good for small indoor plants?
Yes, when the plant spot has a secure clamp point and the light can aim at the leaves. It is especially useful for small desk plants, shelf plants, herbs, succulents, and compact houseplants in dim rooms.
What should I check before using a clip-on grow light?
Check the clamp point, leaf coverage, fixture distance, timer routine, and room fit. These five checks usually matter more than comparing brightness numbers first.
Can one clip-on grow light cover several small plants?
It can work for a small group if the beam reaches the leaves of each plant. If the group is wide or visually important in the room, a pendant or wider setup may be cleaner.
Should I use 6W or 10W for small indoor plants?
Use the 6W clip-on path for compact desk plants, herbs, succulents, and single shelf spots. Compare the 10W clip-on path for grouped pots, larger leaves, or a brighter support setup.
What if my plant spot has no clamp point?
Do not force a clip-on fixture into an unstable setup. Use Find My Setup or compare a pendant grow light if the plant group sits in a visible corner or does not have a secure edge.